
Welcome to the informative blog on constructing a 10 x 20 lean-to shed, a practical and space-saving solution for your storage or workshop needs.
Lean-to-sheds have gained popularity for their efficient use of space and cost-effectiveness.
By attaching to an existing structure, such as a house, garage, or fence, these sheds maximize available space while minimizing the need for additional construction materials. This makes them an excellent choice for homeowners with limited space or budget constraints.
Now, you might be wondering why a 10 x 20 lean-to shed specifically? The dimensions of 10 feet by 20 feet offer enough space for various storage needs.
Additionally, the elongated design provides versatility, allowing for adding shelves, workbenches, or other custom features to suit your specific requirements.
Throughout this guide, we’ll cover not only the basic construction process but also additional considerations such as shed kits, wood requirements, and free plans to assist you in your project.
Benefits of a Lean-to Shed
Lean-to sheds offer several advantages that make them an attractive option for homeowners:
Space-saving design
One of the primary benefits of a 10 x 20 lean-to shed is its space-saving design. By attaching directly to an existing structure, such as a house or garage, lean-to sheds make efficient use of available space.
Cost-effectiveness
Building a lean-to-shed is often more cost-effective than constructing a standalone structure.
Since lean-to sheds utilize an existing structure as one of their walls, they require fewer materials and less labor compared to building from scratch.
This can result in significant cost savings for homeowners, making lean-to sheds a budget-friendly option for outdoor storage.
Versatility
Another key advantage of lean-to sheds is their versatility. While primarily used for storage purposes, lean-to sheds can be customized to suit a variety of needs.
Whether you need a workshop space, a home for your gardening supplies, or a shelter for outdoor equipment, a lean-to-shed can be adapted to accommodate your specific requirements.
With the addition of shelves, hooks, and other organizational accessories, you can maximize the functionality of your shed and make the most of your available space.
Durability
When properly constructed using quality materials, lean-to sheds can be durable and long-lasting.
By following best practices for construction and maintenance, you can ensure that your shed withstands the elements and provides reliable protection for your belongings year-round.
Aesthetics
In addition to their practical benefits, lean-to sheds can also enhance the aesthetic appeal of your outdoor space.
With a variety of siding options, roofing materials, and finishing touches available, you can customize your shed to complement the design of your home and landscape.
Whether you prefer a rustic, traditional look or a more modern aesthetic, there are plenty of options to suit your style.
Planning and Preparation: 10 x 20 lean-to-shed plans
Before you start building your 10 x 20 lean-to shed, it’s crucial to invest time in thorough planning and preparation. Here are the key steps to consider:
Site Selection
Begin by selecting a suitable location for your 10 x 20 lean-to shed. Take into account factors such as accessibility, drainage, and proximity to utilities.
Ideally, choose a flat and level area that receives adequate sunlight and is away from trees or other obstructions that could interfere with construction or future use of the shed.
Consider the orientation of the shed to prevailing winds and sunlight to maximize energy efficiency and minimize exposure to the elements.
Permits and Regulations
Check local building codes and regulations to determine if permits are required for your shed construction project.
Regulations regarding shed size, setback requirements, and zoning restrictions may vary depending on your location.
Obtain any necessary permits and ensure compliance with local ordinances before proceeding with construction. Failure to obtain proper permits could result in fines or other legal consequences.
Shed Kits
Consider using a 10 x 20 lean-to-shed kit, especially if you’re new to construction or prefer a more straightforward assembly process.
Shed kits typically include pre-cut materials and detailed instructions, making it easier to build your shed without the need for extensive carpentry skills or specialized tools.
Research different shed kit options available on the market and choose one that best fits your budget, preferences, and construction experience.
Wood Requirements
Determine the amount and type of wood needed for your 10 x 20 lean-to shed. The specific wood requirements for 10 x 20 lean-to-shed will depend on shed design, framing method, and local building codes.
Common wood materials used in shed construction include pressure-treated lumber for framing and siding, as well as plywood or oriented strand board (OSB) for sheathing and roofing.
Calculate the quantities of lumber needed for framing, siding, roofing, and any additional structural components based on your shed plans and dimensions.
Lean-to-Shed Construction Process: Step by Step
Implement 10 x 20 lean-to shed plans and start building your 10 x 20 lean-to shed. Follow these step-by-step instructions to ensure a smooth and successful construction process:
Foundation
Begin by preparing the foundation for your lean-to shed. The foundation provides stability and support for the structure, so it’s essential to choose the right type based on your soil conditions and local building codes.
Concrete slab: Ideal for permanent structures and heavy-duty storage needs. Prepare the site by leveling the ground, installing formwork, pouring concrete, and allowing it to cure properly.
Gravel: A more cost-effective option suitable for sheds with lighter loads. Dig the area, spread a layer of compacted gravel, and ensure proper drainage to prevent water buildup.
Skids: Wooden skids or runners placed directly on the ground can be used for sheds that require mobility or temporary installation. Ensure the skids are level and anchored securely to prevent shifting.
Framing
Once the foundation is in place, it’s time to start framing the walls of your lean-to shed. Use pressure-treated lumber for the framing members to protect against rot and insect damage.
Follow your shed plans or kit instructions to cut the lumber to the correct dimensions and assemble the wall frames on a flat surface.
Position the wall frames on the foundation according to your shed layout, ensuring they are square and level before securing them in place with nails or screws.
Install additional framing members, such as studs, headers, and top plates, as needed to reinforce the structure and support the roof.
Roofing
With the walls framed and secured, it’s time to install the roof of your lean-to-shed. Choose a roofing material that suits your climate and aesthetic preferences, such as asphalt shingles, metal roofing panels, or corrugated plastic sheets.
Follow the manufacturer’s instructions for installing the roofing material, ensuring proper overlap and sealing to prevent leaks.
Consider adding roof overhangs or eaves to provide additional protection from the elements and enhance the shed’s appearance.
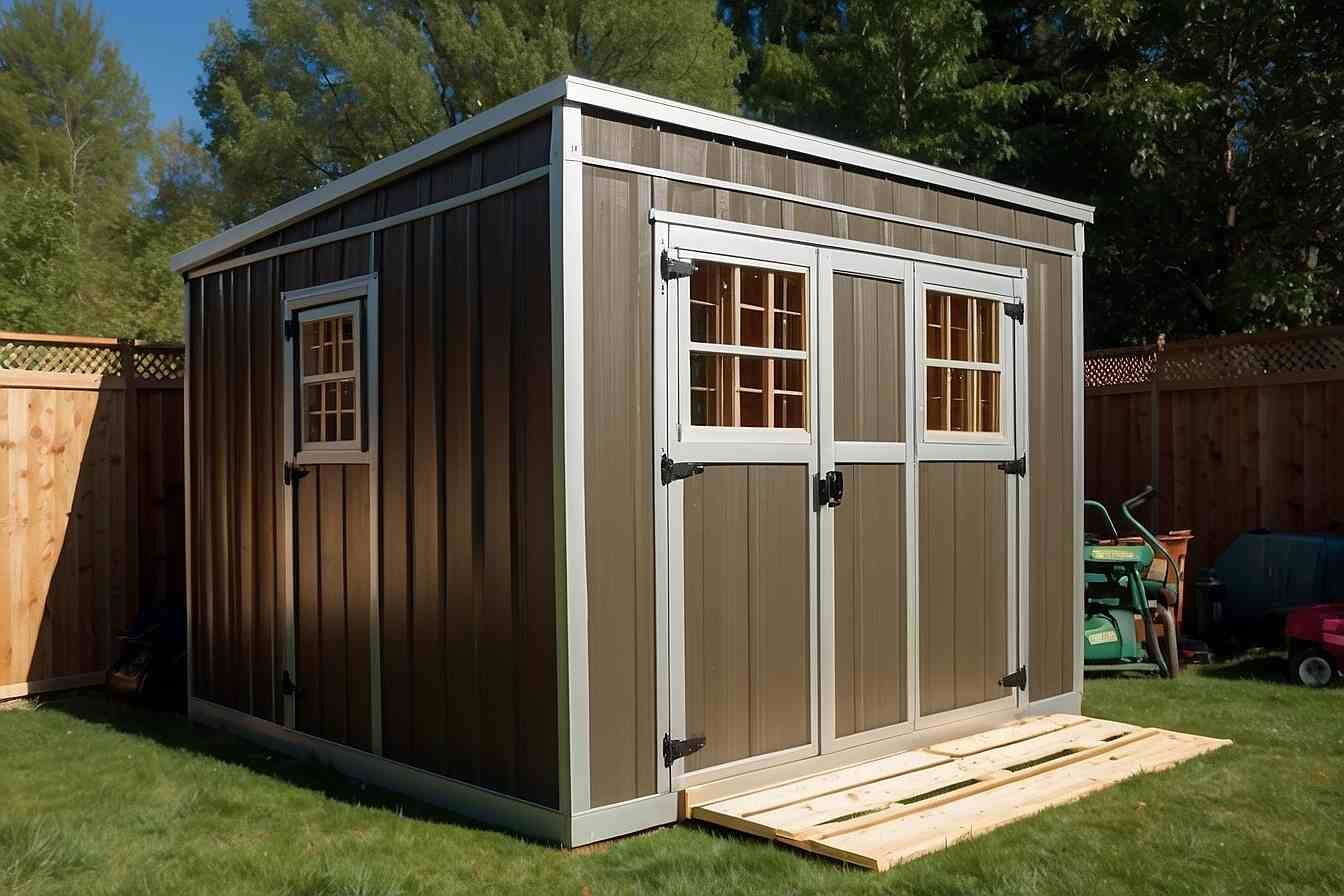
Siding and Finishing Touches
Once the roof is in place, complete the exterior of your lean-to shed with siding materials. Common options include plywood, T1-11 siding, vinyl siding, or metal panels.
Install the siding according to the manufacturer’s instructions, starting from the bottom and working your way up. Use galvanized nails or screws to secure the siding to the wall frames.
Add any finishing touches, such as doors, windows, vents, and trim, to complete the look of your shed.
Ensure all openings are properly sealed and weatherproofed to prevent moisture infiltration.
Maintenance and Care
After completing the construction of your 10 x 20 lean-to shed. Now that your shed is built, it’s essential to implement a regular maintenance routine to keep it in optimal condition for years to come.
Here are some maintenance and care tips to help you preserve the integrity and functionality of your shed:
Routine Inspection
Schedule regular inspections of your lean-to-shed to check for any signs of damage, wear, or deterioration.
Look for issues such as leaks, rot, insect infestations, or structural damage.
Cleaning
Keep your lean-to-shed clean and free of debris to maintain its appearance and prevent mold or mildew growth.
Sweep or hose down the exterior regularly to remove dirt, leaves, and other debris.
Clean the interior of the shed periodically to remove dust, cobwebs, and any spills or stains. Use a mild detergent and water solution to wash surfaces as needed.
Repairs
On time address any issues or damage identified during your inspections to prevent them from worsening over time.
Replace damaged or rotted wood, repair leaks, and seal cracks or gaps to maintain the structural integrity of your shed.
Weatherproofing
Take steps to weatherproof your lean-to shed to protect it from the elements and extend its lifespan.
Apply a protective sealant or paint to exterior surfaces to shield them from moisture, UV rays, and other environmental factors.
Ensure that doors, windows, and roof seams are properly sealed to prevent water infiltration.
Consider adding gutters and downspouts to divert rainwater away from the shed’s foundation.
Pest Control
Implement measures to deter pests such as rodents, insects, and birds from taking up residence in your shed.
Seal entry points, store food and organic materials in sealed containers, and use traps or repellents as needed.
Wrap Up
Building a 10 x 20 lean-to shed offers a practical and cost-effective solution for expanding your outdoor storage space or creating a versatile workshop area.
If you are ready to start building your 10 x 20 lean-to shed, be sure to check out our recommended resources for free plans, shed kits, and additional information on shed construction and maintenance.
Remember to consult local building codes and obtain any necessary permits before beginning your project to ensure compliance with regulations.
At Freedomz Storage, we’re dedicated to providing homeowners with the tools, resources, and inspiration they need to tackle their DIY projects with confidence.
Thank you for joining us on this journey to build a 10 x 20 lean-to shed. We hope you found this guide helpful and informative.
Freedomz Storage – Your Trusted Source for Storage Solutions and DIY Projects.
FAQS
Q: What is a 14 x 20 shed with an attached lean-to, featuring a 10/12 pitch?
A: A 14 x 20 shed with an attached lean-to refers to a structure consisting of a main shed building measuring 14 feet by 20 feet, with an additional lean-to extension attached to one side.
The 10/12 pitch indicates the roof slope, with the roof rising 10 inches vertically for every 12 inches horizontally.
Q: Where can I find free lean-to-shed plans for a 10 x 20 structure?
A: You can find free lean-to-shed plans for a 10 x 20 structure online through various websites, DIY forums, or woodworking communities.
Some hardware stores or home improvement centers may offer free plans or resources for building lean-to-sheds.