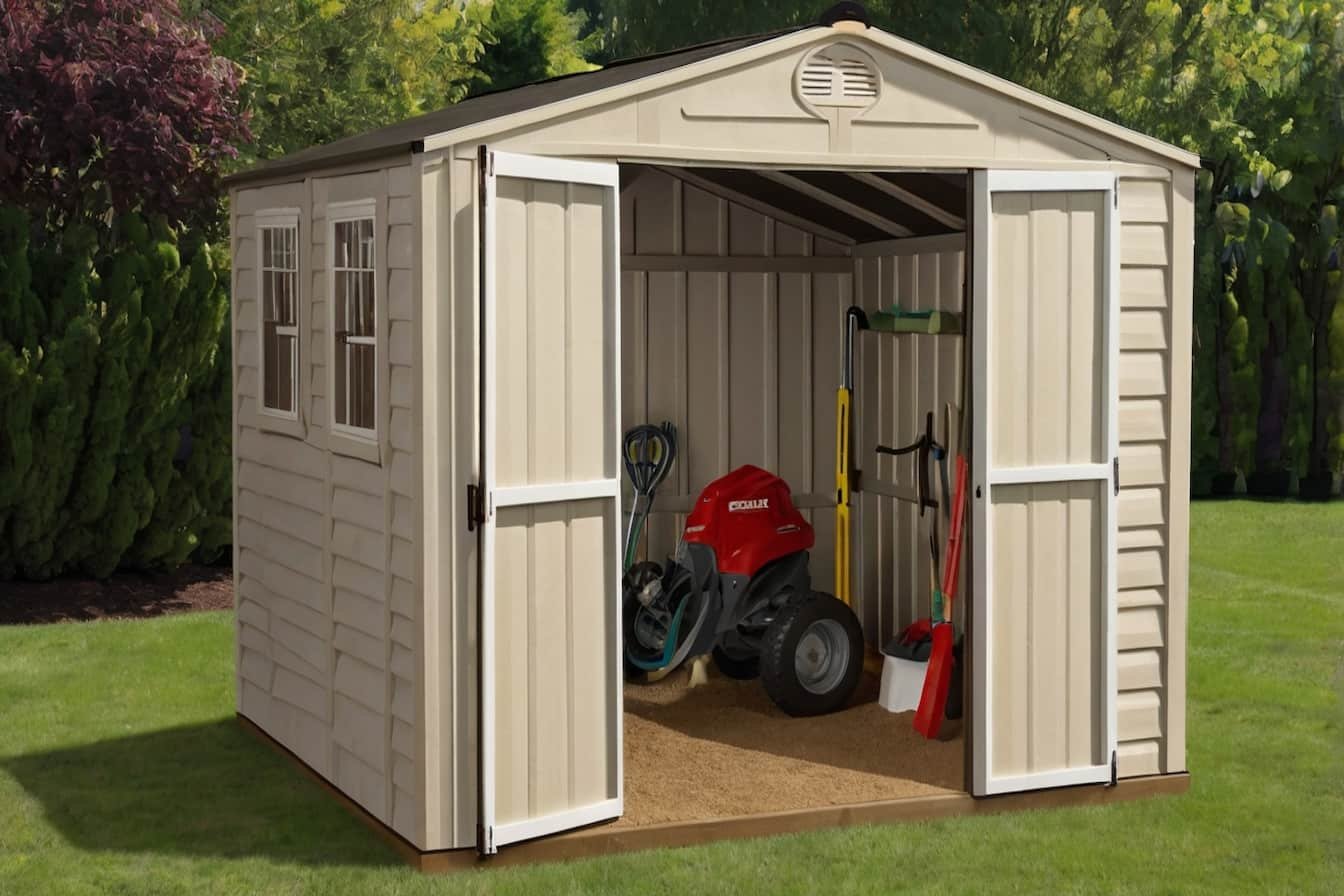
Can I customize my suncast vista shed with additional features or accessories? Setting up storage shed might be difficult, but with the appropriate advice, it becomes a simple and enjoyable undertaking.
This blog gives a full, step-by-step guide to suncast vista 7×7 shed assembly instructions. Whether you’re experienced DIY or beginner, these instructions will help you erect your suncast vista 7×7 shed easily and securely.
This book will cover everything from planning to resolving typical problems, ensuring that your storage shed is strong and useful.
Preparation for Assembling Shed
Preparation for assembling your shed is essential for smooth and successful project. Here is it how:
Importance of Preparation
Proper preparation is required for successful assembly procedure. Having all of the essential equipment and supplies on hand, as well as a prepared location, may save you time and avoid any problems during assembly.
Required tools and materials include screwdriver, hammer, ladder, utility knife, level, tape measure, and safety glasses.
In addition to these tools, be sure your shed kit has all of the necessary parts and hardware. Refer to Suncast vista 7×7 shed instructions to ensure that all components are present.
Site Preparation
This factor should also considered as it ensure the correct base for creation of suncast vista 7×7 shed.
Choose a location: Choose a smooth, level surface for your shed. The ground has to be firm and well-drained.
Foundation Preparation: Choose between concrete, gravel, or wooden platform based on local requirements.
Level the Ground: Use level to establish even foundation. This phase is crucial to your shed’s stability and long-term durability.
Unpacking and Organizing Parts
When it comes to unpacking and organizing parts for your shed assembly, these are the points to be considered.
Unpack the Shed Kit
Carefully unpack all of the components of your suncast vista 7×7 shed. To avoid damage, handle the panels and tiny pieces carefully.
Organizing the parts
Lay out all of the components and hardware on a clean, level table. Group related components together and store the hardware in a container to avoid losing minor pieces. This structure will speed up the building process and make it simpler to follow the suncast vista shed instructions.
Assembling Floor Panels
Assembling the floor panels sets the foundation for your shed’s stability and durability. Here is the way to do it.
Step by Step Guide
Lay out Floor Panels: Place the floor panels in the proper position. Ensure that they are correctly aligned.
Secure the Panels Together: Secure panels together using the included connections and screws. Make sure the connections are tight to avoid gaps.
Check the Level: Use a level to confirm that the floor is even. Adjust as needed to create flat, solid base.
Constructing the Walls
Begin creating your shed’s walls using the wall panels. Position one corner panel at edge of the floor, flush with the surface.
Secure the panel to the floor using the screws included in the installation kit, ensuring a tight fit.
Next, install neighboring panels one by one, securely fastening them to the floor and each other.
As you work your way around the shed, continue to add panels in the same way, making sure each one is level and firmly connected before going on to the next.
This step-by-step process guarantees that your shed walls are built precisely, resulting in strong and solid construction.
Install corner panels to strengthen the framework. These panels give extra stability and contribute to the shed’s overall integrity.
For stability and security, strengthen the corners and anchor the shed to the base. This is critical for vertical versions, as stated in the suncast vertical storage shed assembly instructions.
Installing the Doors
To install the door panels for your shed, follow these steps. First, attach the hinges to the door panels as specified in the suncast vista shed assembly instructions. Make sure the pivots are properly secured to the panels to sustain their weight.
Next, set doors at the shed’s front entrance, carefully aligning them to fit snugly within the doorframe. To get a polished look, arrange the doors equally and symmetrically.
Once the doors are properly placed, fasten them to the shed with given screws or hardware, making sure they swing freely and smoothly while opening and shutting. Double-check that the doors are properly fastened to avoid movement or instability.
Suncast Vista Shed Roof Assembly
When constructing your shed’s roof, start by following the directions to build roof trusses. Each truss must be solidly built since it will serve as the structure for supporting the roof panels. Take care to exactly follow the construction stages to ensure the trusses’ stability and endurance.
Once the roof trusses are completed, carefully set them on top of the wall panels, aligning them with pre-drilled holes in the walls. Accurate truss placement is critical for ensuring the roof structure’s stability and support.
Next, use provided screws to attach the roof panels to the trusses. Make sure the panels are properly fastened to the trusses to avoid any potential leaks or damage caused by moving panels.
Final Steps to Follow
Securing all components ensures shed’s stability. Double-check connections for tightness and strengthen if required.
Weatherproofing and accessories are needed. Use weatherstripping on doors and windows to keep water and air out. Add shelves or hooks according to the suncast vista storage shed assembly instructions.
When troubleshooting, check panel security and rectify misalignments. This is true for all shed sizes and types, including the suncast 5.5 x 5.5 resin shed assembly instructions.
Conclusion
Following above suncast vista 7×7 shed assembly instructions will allow you to properly create long-lasting and reliable storage solution.
Proper planning, careful installation, and attention to detail are essential for assuring your shed’s durability and functionality.
If you have any problems or want extra assistance, please not hesitate to get more details from Freedomz Storage. Enjoy your new storage shed!
FAQs
Q:How long does it take to build the suncast vista 7×7 shed?
A: Assembly time varies dependent on aspects such as skill level, tool availability, and site preparation. On average, the assembling procedure might take between 6 and 12 hours.
Q: Will I need any specialized tools to install the shed?
A: Screwdriver, hammer, ladder, utility knife, level, and tape measure are commonly necessary. For a complete list of required tools, see the assembly instructions.
Q: Can I install the shed by myself, or will I require help?
A: While it is feasible to erect the shed alone, having an extra set of hands can be useful, especially when working with bigger panels or assembling the roof. Consider seeking the assistance of friend or family member for certain tasks.
Q: Should I anchor the shed to the ground?
A: Anchoring the shed to the ground is advised for increased stability, particularly in places prone to heavy winds or seismic activity. Anchoring procedures should be used as recommended by the manufacturer.
Q: After assembly, how can I maintain my Suncast Vista shed?
A: Regular maintenance is vital for extending life of your shed. Check for loose screws or connections on a regular basis and tighten them as necessary.
Maintain clean and debris-free shed, and consider putting a protective sealant to any wooden components.
Q: What should I do if an issue arises during assembly?
A: If you run into any problems or have concerns throughout the assembling process, consult the instruction booklet for troubleshooting suggestions. You can also contact Suncast customer care for help.

